
5.5How do I document technical points while scanning?
A plan states dimensions, not condition. Geolocated photos close that gap: they attach visual evidence to a precise spot in the building.
During the scan
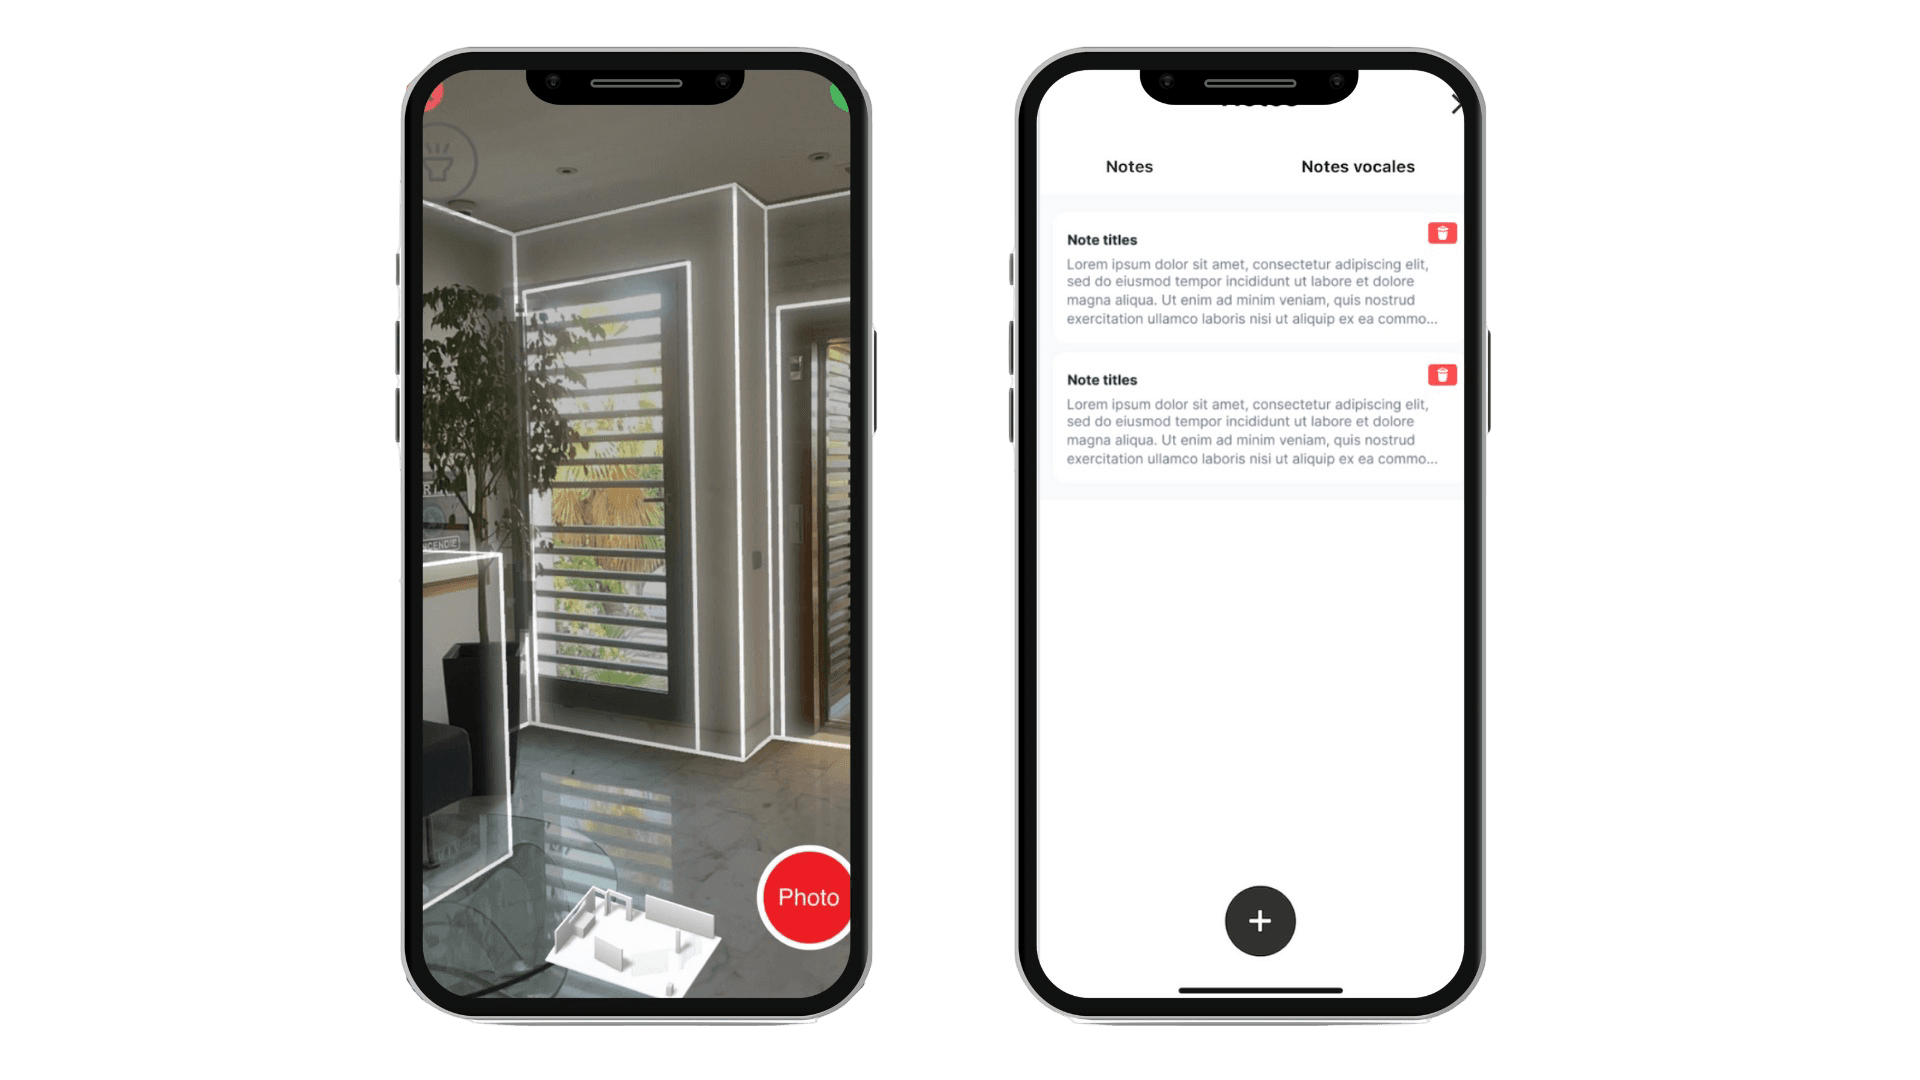
A Photo button stays available throughout the capture. Each shot is automatically geolocated on the plan being built: you document without interrupting the survey.
This is the moment to capture what dimensions won't tell: an architectural detail, technical equipment, a crack, a damp patch, a consumer unit.
In low light, turn on the flash: wall detection copes with darkness, photos don't.
After the plan is generated
You can add photos afterwards. Activate the cursor by tapping the camera icon, move it to the desired spot, then tap: a window opens to take the photo and comment on it.
Photos taken during the scan can also be reoriented — shooting direction and position — once the plan is generated.
View and manage
Tap a photo's icon on the plan: a panel appears at the bottom of the screen, letting you view the photo and its comment, edit them or delete them.
For text rather than images, see notes — typed or dictated then transcribed. For full coverage of a room, see 360° views.
Updated on July 24, 2026